
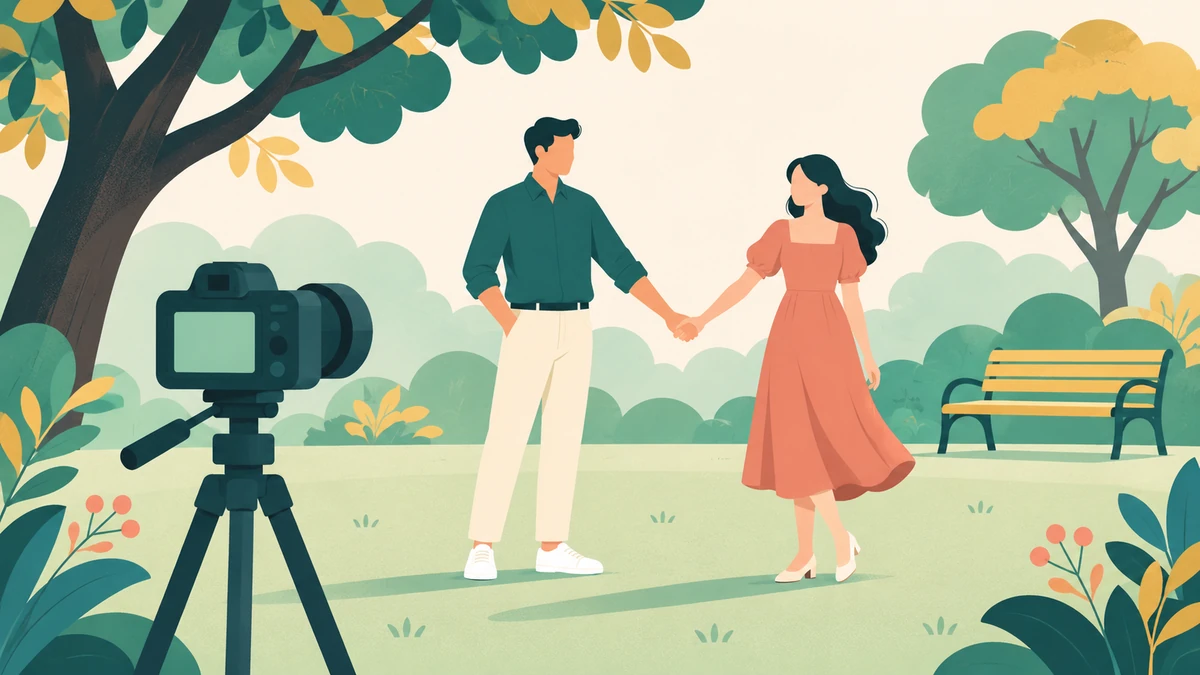
To plan a couple photoshoot, decide on the purpose and style first, then choose a photographer, a location that fits you, and a time of day with soft light. Coordinate outfits without matching exactly, plan a few simple activities instead of stiff poses, and leave room in the schedule so you are not rushed. Leave enough time to get comfortable in front of the camera.
Quick Summary
- Decide what the photos are for: engagement, anniversary, holiday card, or just because.
- Pick a photographer whose past work matches the look you want.
- Choose a location with meaning or good scenery and check if permits are needed.
- Shoot in the hour after sunrise or before sunset for soft light.
- Coordinate colors, avoid big logos, and bring a backup outfit.
- Plan activities and movement so the photos look natural.
Step 1: Decide on the Purpose and Style
Why are you taking these photos? An engagement announcement, save-the-dates, anniversary, pregnancy news, or holiday card each suggest a different feel. Then think about style:
- Classic: clean, timeless, posed but warm
- Candid or lifestyle: natural moments like walking, laughing, cooking together
- Adventurous: mountains, beaches, or road-trip scenes
- Urban: city streets, murals, cafés
Save examples you like from Pinterest or Instagram. They make it much easier to explain your vision to a photographer.
Step 2: Set a Budget
Professional couple sessions vary widely in price based on location, experience, and how many edited photos you get. Decide on a budget before you contact anyone. If money is tight, a photography student building a portfolio or a friend with a good camera can be a solid option.
Step 3: Choose Your Photographer
Look at full galleries, not just the best few shots on their page. Ask:
- How long is the session and how many edited photos are included?
- When will we get the photos, and in what format?
- Do you help with poses or prefer a natural approach?
- Are travel costs or location fees extra?
- What happens if it rains?
Pick someone you feel comfortable with. You will relax more around a person you like, and it shows in the photos.
Step 4: Pick a Location
The best locations usually mean something to you or simply look great. Ideas:
- Where you had your first date or got engaged
- A local park, garden, or lake
- A downtown area with interesting textures and walls
- A field, beach, or trail at golden hour
- Your own home for a cozy, personal feel
Check whether the spot requires a photography permit. Many state parks, botanical gardens, and private venues do. Your photographer may already know the rules.
Step 5: Pick the Right Time of Day
Light makes a huge difference. Most photographers prefer “golden hour,” roughly the first hour after sunrise and the last hour before sunset. The light is soft and warm and flatters skin. Midday sun tends to cause squinting and harsh shadows. Overcast days are actually great for even, soft light.
Also think about crowds. Popular spots are quieter early in the morning.
Step 6: Plan Your Outfits
Coordinate, do not match. Choose a color palette of two to four colors that work together and pull from it for both outfits. Tips:
- Solid colors and subtle textures photograph better than busy patterns.
- Avoid big logos and graphic text.
- Consider the setting: earthy tones in a forest, lighter colors on a beach.
- Wear shoes you can actually walk in, especially on trails or sand.
- Bring a second outfit for variety if your session allows.
Get haircuts about a week before, not the day before, so they look natural.
Step 7: Plan Activities, Not Just Poses
Stiff poses can make couple photos feel awkward. Instead, give yourselves things to do:
- Walk hand in hand toward and away from the camera.
- Whisper something funny in your partner’s ear.
- Share a blanket and a coffee.
- Dance slowly, even without music.
- Sit close and look at each other, then at the camera.
- Cook, play a game, or walk your dog together.
Movement creates genuine laughs and expressions. A good photographer will prompt you, but having ideas ready helps.
Step 8: Bring a Small Kit
- Lip balm, a comb, and blotting papers
- Water and a snack
- A lint roller
- Bobby pins and hair ties
- Props if you want them: a blanket, flowers, a sign, or your dog’s leash
Step 9: Relax on the Day
Arrive a few minutes early so you are not stressed. Spend the first few minutes just talking and getting comfortable. It is normal to feel awkward at first. Give yourselves time to settle in. Focus on each other, not the camera.
Step 10: After the Shoot
Back up your photos in at least two places as soon as you receive them. Our guide on how to back up phone photos covers easy options. Then pick favorites to print. Photos on a wall get enjoyed far more than photos buried in a folder.
Budget-Friendly Option: DIY
If you are taking photos yourselves, use a tripod and your phone’s timer or a Bluetooth remote. Shoot at golden hour, try burst mode for natural moments, and take far more photos than you think you need. You can make the day part of a fun outing. See our ideas for a cheap date night.
FAQ
How long is a typical couple photoshoot?
Many sessions run about one to two hours, though it depends on the photographer and package.
What should couples not wear in photos?
Avoid large logos, neon colors, and very busy patterns. Also skip anything that needs constant adjusting.
What if we feel awkward in front of a camera?
Almost everyone does at first. Focus on each other, move around, and talk the whole time. The awkwardness usually fades quickly.
When should we book a photographer?
For popular seasons like fall, book several weeks ahead. Last-minute sessions are sometimes possible on weekdays.
Leave a Reply